
Setting up Zabbix to monitor the Network devices
SNMP Information
For SNMP communication to happen between the zabbix and the network devices, UDP Port 161 needs to be opened for the inbound part on the Zabbix servers security group.
Community String Macro variable — {$COMMUNITY_STRING}
Community string — arca-comm
Network Device Configuration
This is done on each device to be monitored by Zabbix.
- Log in to each device
- Switch to config mode
and run the below commands
Commands to Run on Network Devices Collapse source
snmp-server community comp-comm RO

snmp-server enable traps snmp authentication linkdown linkup coldstart warmstart

snmp-server host zabbix_url version 2c comp-comm
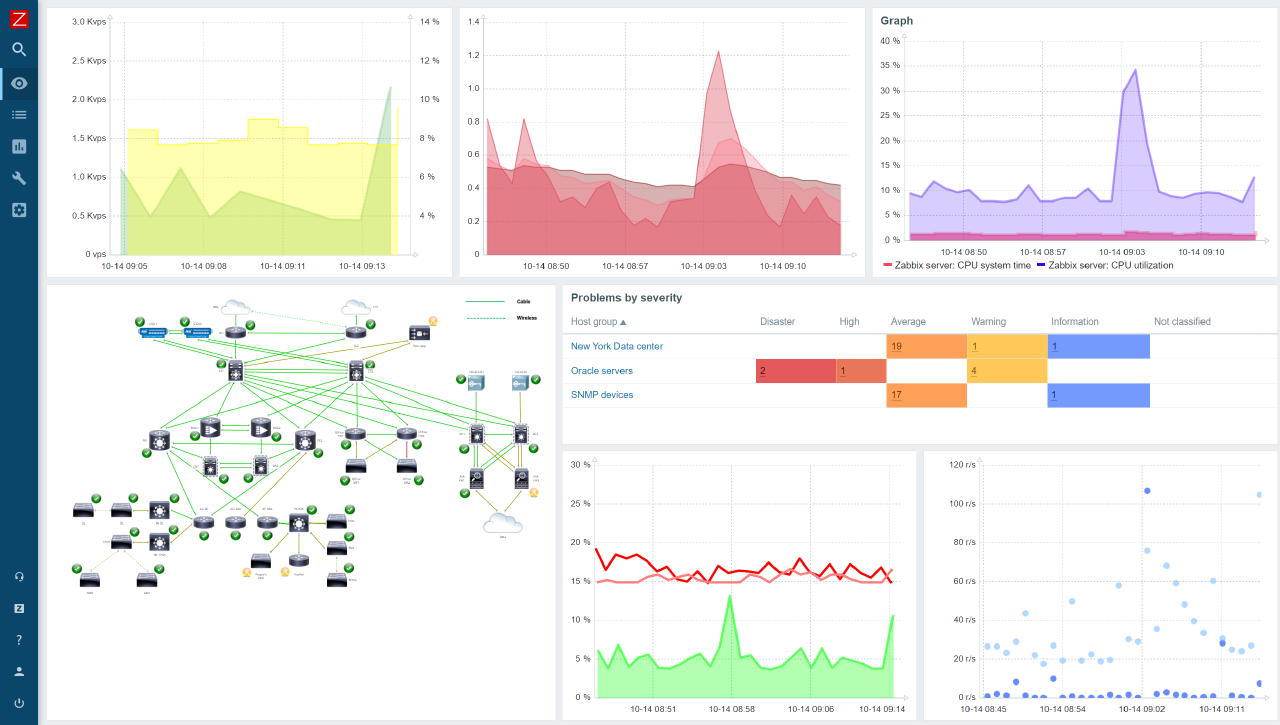
Zabbix Dashboard Configuration
- Open your browser and log in to your Zabbix web interface.
- Click on the Configuration menu, select the Hosts option and then click on the Create Host button.
- Add the network device by putting the device name in the Host name text field and select the Host group.
- Put in the IP address of the network device in the SNMP interface text field.
- Go to the Templates section and click on Select.
- Select the Macros option. Input {$SNMP_COMMUNITY} in the Macro text field. Input the community string in the Value text field.
- Select the template to be use for the devices. Select the Template Net Cisco iOS SNMPv2 template.
- Select Add to link the template and Add at the bottom of the page to add the host.
The Host will appear on the Hosts page, with its status enabled while waiting for the Zabbix server to show the availability of the network device.
After a short while (less than 5 minutes), the under availability, SNMP will be highlighted with green to show that it is available.